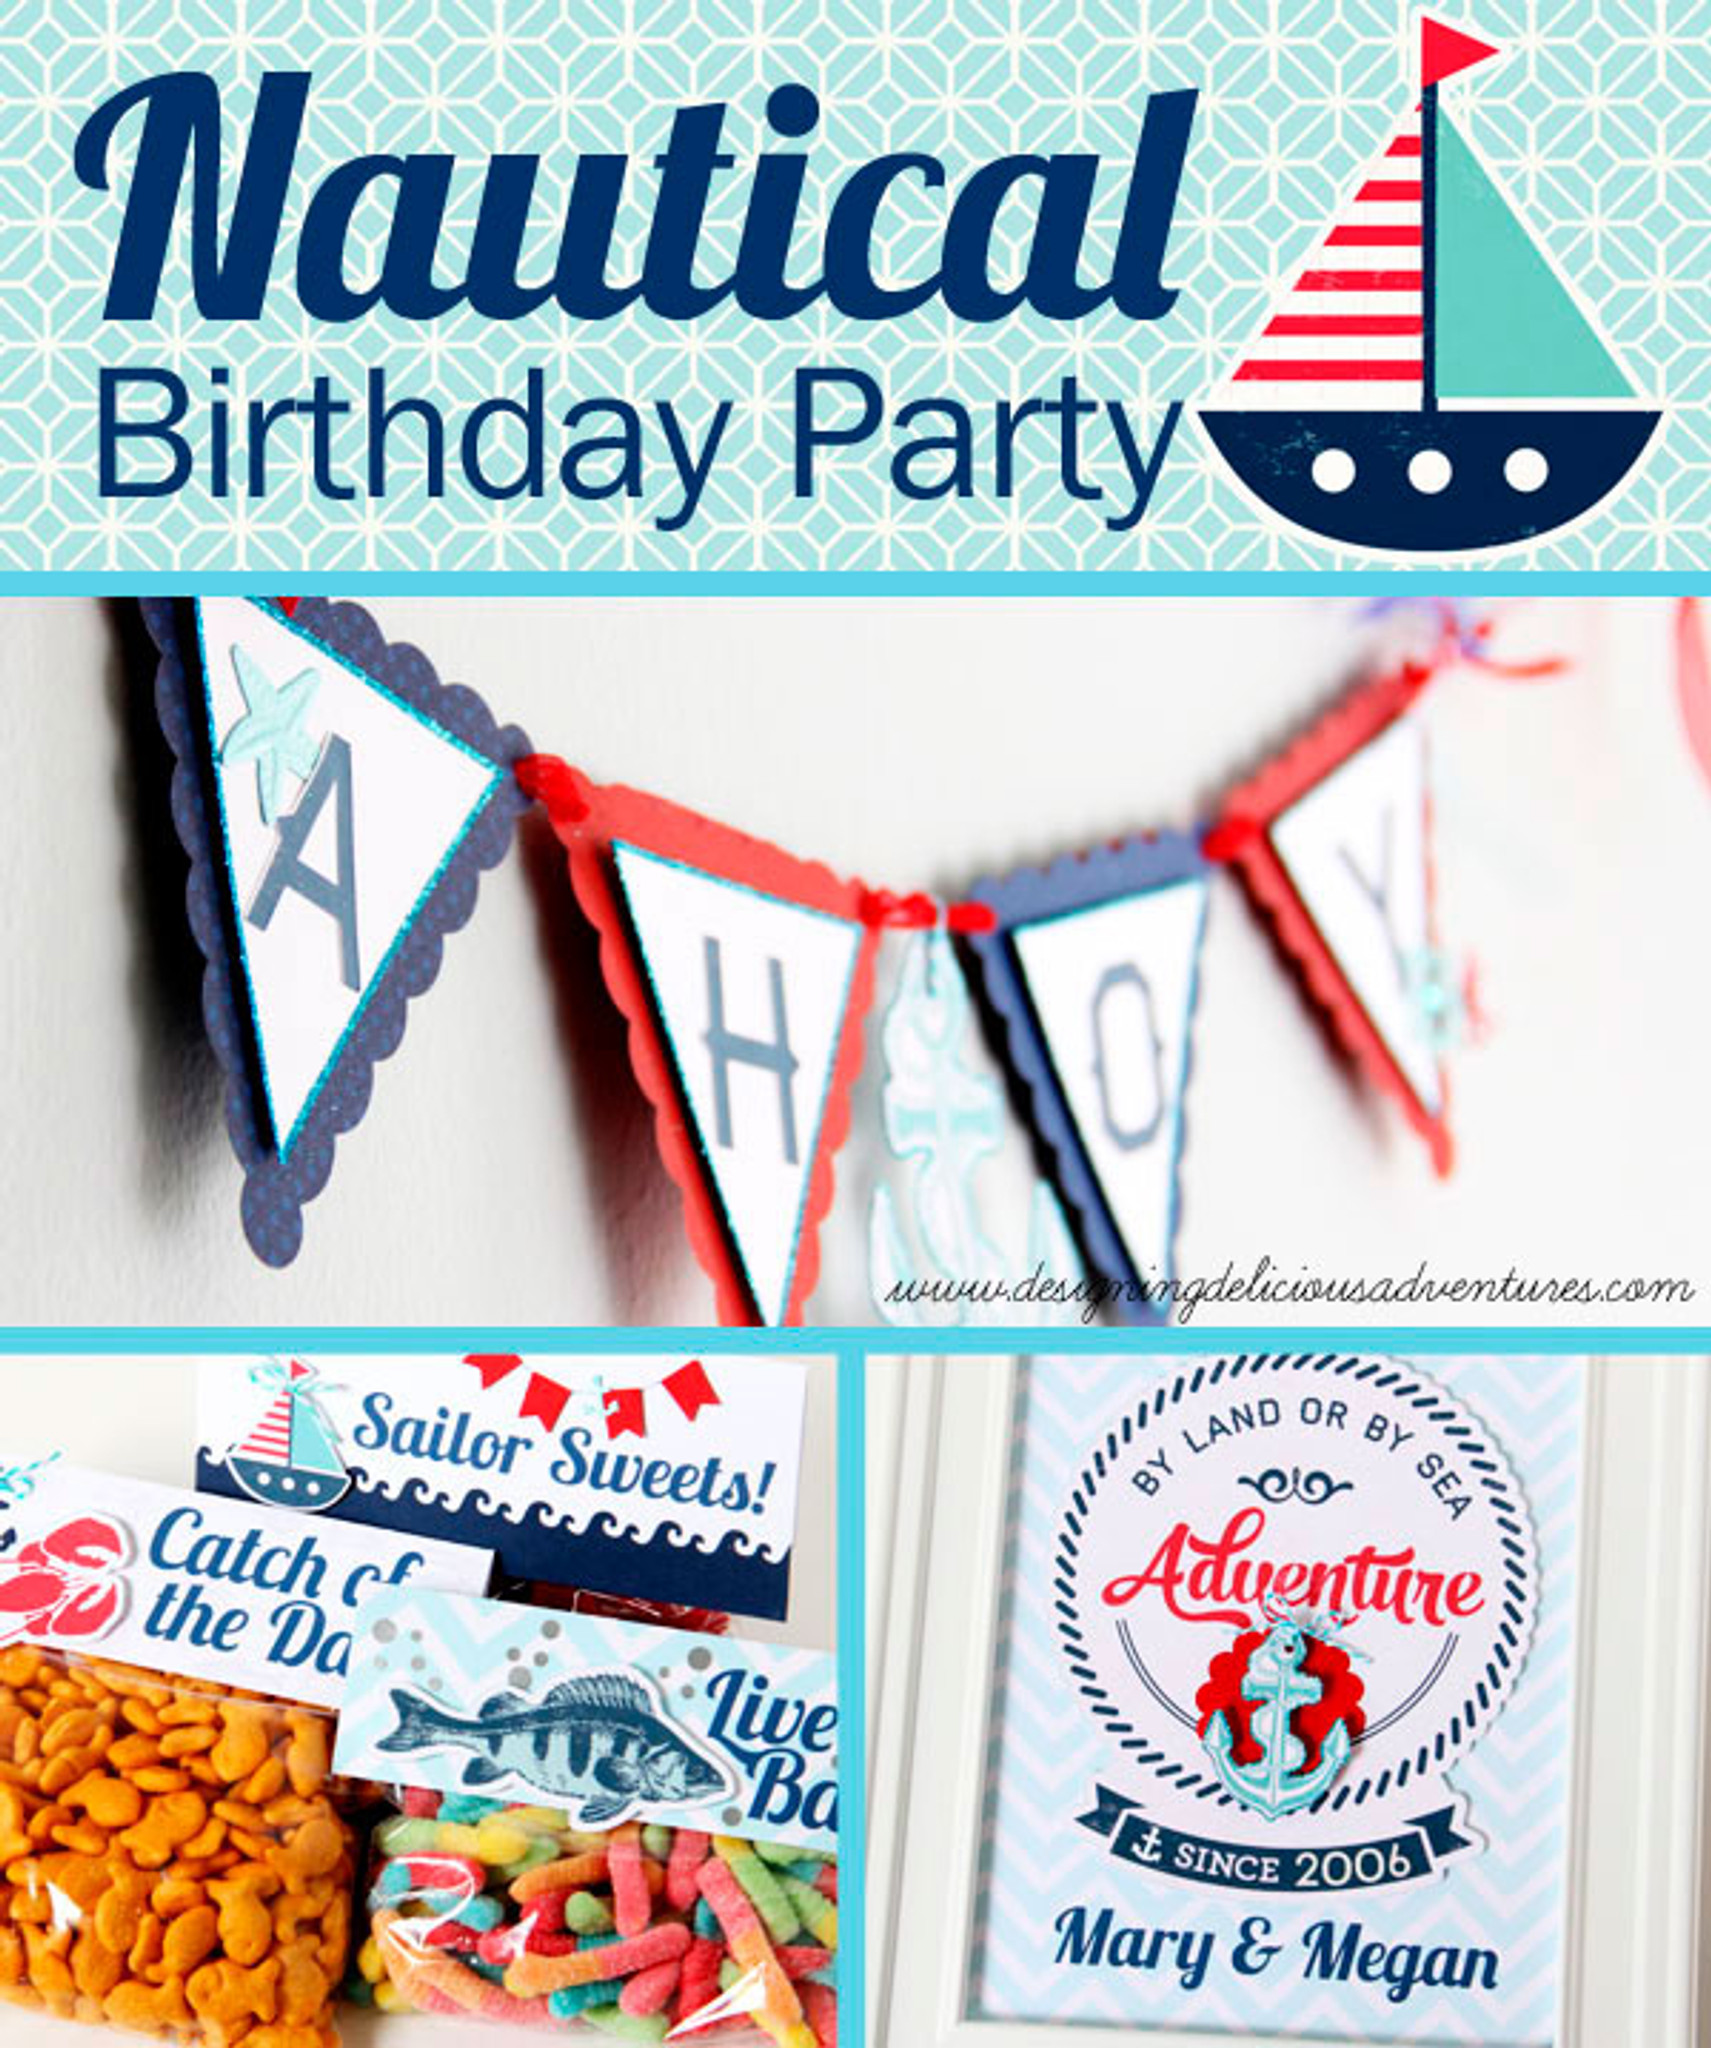
Nautical Birthday Party

With the end of summer drawing near, I couldn't resist one more opportunity to use elements from the Ahoy collection by Carta Bella. I just love this grouping of anchors, sea sentiments, and ocean inspired designs. Remember the nautical birthday card I shared last month? Here are several more ideas to accompany a nautical or anchor themed birthday party using digital scrapbooking products:
Ahoy Banner

I used a generic banner die-cut to make my banner base. Then, I used the alphabet letters from the nautical collection to spell out the word "AHOY." The focal point of this cute banner has to be the gorgeous anchor element. I used the print and cut feature of my silhouette to cut out a perfectly shaped outline of this graphic. To make everything pop, I edged the border with aqua glitter. A few additional paper embellishments and ribbon completed the look!

Treat Bags

The Ahoy collection contains several darling graphics including a boat, a lobster, and a fish. When I saw these elements, I knew they would be the perfect embellishments for treat bag toppers.

I packaged goldfish with the saying "Catch of the Day," licorice bites with the phrase "Sailors Sweets," and sour gummy worms with the sentiment "Live Bait."

Here's the basic outline of how I made these goodies:
- Open a new 4-inches x 2-inches document in PSE.
- Drag a piece of coordinating digital scrapbook paper onto your document. Adjust the size if needed.
- Add a text box to the bottom half of the document containing your catch phrase. I used the font Lobster 1.3.
- Print out this document. Fold in half.
- Use the print and cut feature of the silhouette to cut out a digital element to add to the topper.
- Adhere this digital element to the topper using double sided foam tape.
- Embellish with additional punches or ribbon if desired.
- Add your finished topper to a Ziploc bag filled with yummy treats using tape adhesive.


A couple of notes:
- I used the aqua chevron paper labeled "Seashells" as a base.
- In PSE, I opened Element 1 and set my foreground color to the same navy color as the bottom portion of the banner. Then, I selected the paint brush tool and filled in the "1826" date so it wasn't visible.
- To make this element easy to cut out using the silhouette, I added a very light aqua stroke line.
- I added a new "date" to the bottom banner using sticker letters. 2006 is the year my sweet nieces were born.
- In order to make this sign dimensional, I added a scalloped red punched shape to the center. I also layered a cut-out anchor in the center using foam tape.
- For extra sparkle, I edged the anchor element with aqua glitter.

There you have it... 3 extra ideas for savoring summer memories using the AHOY collection. Now, go "Seas the Day!" and find some fun ways to incorporate digital design into your next project!

